Solar for Energy Independence Planning: A Homeowner Roadmap
Energy independence is no longer just a concept for off-grid enthusiasts or futuristic dreamers. With rising electricity rates, more frequent grid outages, and growing awareness of climate risks, homeowners across the United States are asking a practical question: can solar power make my home self-sufficient? The answer is yes, but only with careful planning. Solar for energy independence planning requires a strategic approach that goes beyond simply installing panels on your roof. It involves understanding your energy consumption, designing a system that matches your needs, and integrating storage and backup solutions that keep your lights on when the grid goes down. This guide walks you through the essential steps to create a personalized energy independence plan using solar power.
What Energy Independence Really Means for Your Home
Energy independence means different things to different homeowners. For some, it means reducing monthly utility bills to near zero. For others, it means having power during blackouts without relying on a noisy generator. And for a growing number, it means complete self-sufficiency, where the home produces and stores all the energy it needs year-round. Understanding your personal definition is the first step in solar for energy independence planning.
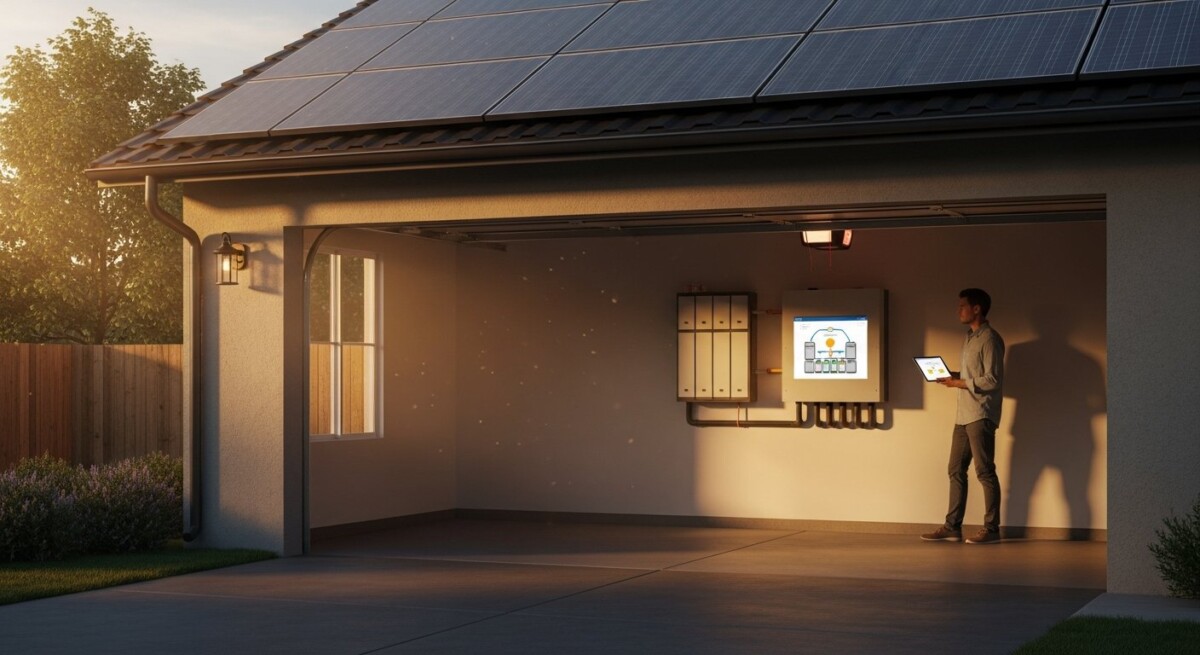
A truly independent solar system typically includes three core components: solar panels to generate electricity, an inverter to convert that electricity into usable power, and battery storage to keep energy available when the sun is not shining. Without storage, you remain tied to the grid because you cannot use solar power at night or during cloudy weather. Grid-tied systems with net metering can offset your bills, but they do not provide backup power during outages. If energy independence is your goal, battery storage is non-negotiable.
Step 1: Audit Your Energy Consumption
Before you design any solar system, you must know how much electricity your home actually uses. Energy independence planning starts with a thorough energy audit. Gather 12 months of utility bills to see your monthly and annual kilowatt-hour (kWh) usage. Focus on the total annual number, because solar production varies by season. A system sized for summer may leave you short in winter, and vice versa.
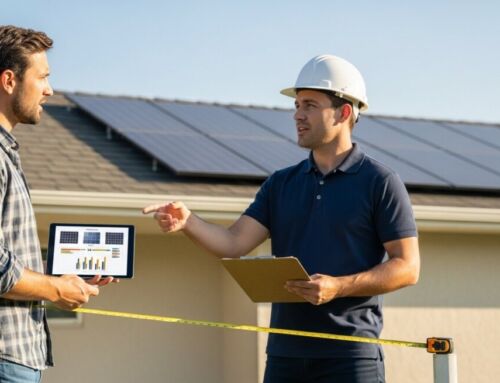
Next, identify your largest energy loads. Common high-consumption appliances include air conditioning units, electric water heaters, refrigerators, and pool pumps. If you plan to add electric vehicles or heat pumps in the future, factor those into your calculations now. The more accurate your audit, the better your system will perform. Many homeowners use online calculators or consult with a solar professional to refine these numbers.
Using a Load Calculation for Battery Sizing
Battery storage sizing depends on your critical loads, not your total usage. Critical loads are the appliances and circuits you must keep running during an outage: lights, refrigeration, internet, medical devices, and perhaps a well pump. List each critical load, its wattage, and how many hours per day you need it. Multiply wattage by hours to get daily watt-hours, then divide by the battery voltage to find the amp-hours required. This calculation ensures your battery bank can handle essential needs without being oversized for your budget.
Step 2: Assess Your Site for Solar Potential
Your home’s physical characteristics determine how much solar energy you can harvest. Solar for energy independence planning requires a honest assessment of your roof or ground space. Key factors include roof orientation, pitch, shading, and structural integrity. South-facing roofs in the Northern Hemisphere capture the most sunlight, but east and west-facing panels can also work well, especially with time-of-use utility rates.
Shading is the enemy of solar production. Trees, chimneys, neighboring buildings, and even dormers can reduce output significantly. Use a solar pathfinder or an online tool to estimate shading throughout the year. If your roof has partial shading, microinverters or power optimizers can help each panel perform independently, minimizing overall losses. For homes with poor solar access, ground-mounted systems offer flexibility because you can position them in an unshaded location.
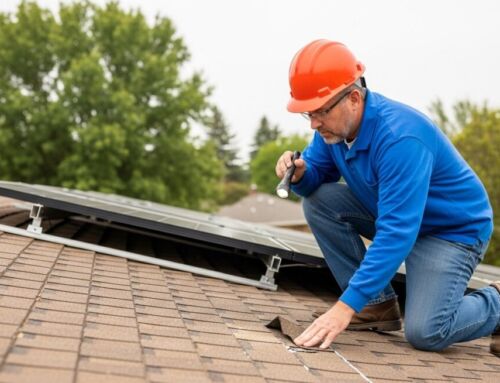
Also consider your roof’s age and condition. Solar panels last 25 to 30 years, so installing them on a roof that needs replacement in five years creates unnecessary cost and complexity. If your roof is older, factor replacement into your timeline or choose a ground-mounted system instead.
Step 3: Design a System That Balances Production and Storage
Once you know your consumption and site potential, you can design a system. The goal of solar for energy independence planning is to match annual production with annual consumption while providing enough battery capacity to cover your critical loads during outages. Oversizing your solar array by 10 to 20 percent is common, because panels degrade slowly over time and weather varies year to year.
Battery capacity is measured in kilowatt-hours (kWh). A typical home might need 10 to 20 kWh of storage to run essential loads for one day. However, true independence often requires two to three days of backup, especially if you live in an area with frequent storms or long cloudy periods. Lithium-ion batteries, such as the Tesla Powerwall or LG Chem RESU, are popular for their efficiency, lifespan, and depth of discharge. Lead-acid batteries are cheaper upfront but require more maintenance and have shorter lives.
Do not forget the inverter. String inverters are cost-effective for simple, unshaded roofs. Microinverters and power optimizers add cost but improve performance on complex roofs or those with partial shade. Choose an inverter that matches your system size and battery chemistry. Hybrid inverters that manage both solar and storage simplify installation and allow for future expansion.
Step 4: Understand Financial Incentives and Payback
Energy independence is a long-term investment, but financial incentives can shorten your payback period significantly. The federal solar Investment Tax Credit (ITC) allows you to deduct 30 percent of your system cost from your federal taxes. Many states and utilities offer additional rebates, performance-based incentives, or property tax exemptions. Some areas have community solar programs that let you subscribe to a shared solar farm if your property is unsuitable for panels.
When evaluating costs, include battery storage in your calculations. Batteries add $5,000 to $15,000 or more to a system, but they also qualify for the ITC if they are charged by solar. Without batteries, your system may still lower bills but will not provide true independence. Use a solar cost calculator or request quotes from multiple installers to compare prices. NewSolarQuote offers a free tool that connects you with vetted providers in your area, making it easier to compare options side by side.
Step 5: Choose the Right Installer or DIY Path
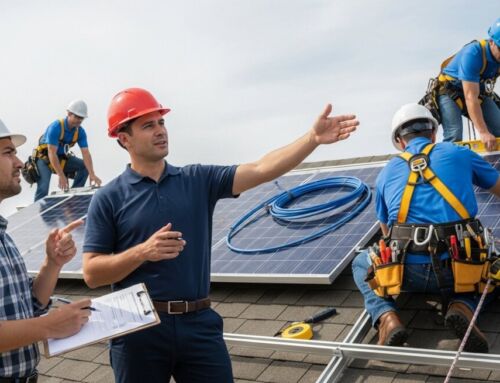
You can achieve solar for energy independence planning through professional installation or a do-it-yourself approach. Professional installation ensures your system meets local codes, passes inspection, and qualifies for incentives. Most homeowners choose this route for safety and reliability. When selecting an installer, check their licensing, insurance, and customer reviews. Ask about warranties on panels, inverters, and workmanship. A reputable installer will walk you through the design, permitting, and interconnection process.
For experienced DIYers, building your own system can save money. However, you must handle electrical work, permitting, and utility interconnection yourself, which can be complex. Mistakes can void warranties or create safety hazards. If you choose DIY, start with a smaller system for a shed or workshop to gain experience before tackling your main home. Resources like NewSolarQuote’s DIY tutorials provide step-by-step guidance for beginners.
Step 6: Plan for Grid Interaction and Net Metering
Even with a fully independent system, staying connected to the grid offers advantages. Net metering allows you to send excess solar power to the utility and earn credits that offset your nighttime or cloudy-day usage. In many states, net metering policies are changing, so check your local utility’s rules. Some utilities now offer reduced rates for exported power or require time-of-use rates that shift costs to evening hours.
If net metering is favorable, you can install a smaller battery and rely on the grid as your virtual storage. If net metering is weak or unavailable, you need a larger battery to achieve independence. Some homeowners choose to go completely off-grid, disconnecting from the utility entirely. This requires a much larger battery bank and a backup generator for extended periods of low sun. Off-grid systems also need a charge controller and more robust inverter to handle all loads without grid support.
Key Components of an Energy-Independent Solar System
To summarize, here are the essential components you need for a successful energy independence plan:
- Solar panels: Choose monocrystalline panels for highest efficiency in limited space. Polycrystalline is cheaper but less efficient. Bifacial panels capture light from both sides and can boost output on reflective surfaces.
- Inverter: Select a hybrid inverter that manages both solar and battery if you plan to add storage now or later. Microinverters are best for roofs with shading or complex angles.
- Battery storage: Lithium-ion batteries offer the best balance of cost, lifespan, and performance. Size your battery to cover at least one day of critical loads, with room to expand.
- Charge controller: For off-grid systems, a maximum power point tracking (MPPT) charge controller optimizes panel output to charge batteries efficiently.
- Monitoring system: Real-time monitoring lets you track production, consumption, and battery status from your phone. Many modern inverters include this feature.
These components work together as a unified system. A weak link, such as an undersized inverter or a battery with low depth of discharge, can limit your independence. Invest in quality components from reputable manufacturers, and ensure they are compatible with each other.
Common Mistakes in Energy Independence Planning
Many homeowners make avoidable errors when planning their solar systems. One common mistake is underestimating winter production. Solar panels produce less energy in winter due to shorter days and lower sun angles. If you size your system based on summer output, you may fall short in December and January. Always use annual production data to size your array.
Another mistake is ignoring efficiency upgrades before going solar. Replacing old appliances with Energy Star models, sealing air leaks, and adding insulation can reduce your energy consumption by 20 to 30 percent. A smaller, more efficient home needs fewer panels and less battery storage, lowering your overall cost. Perform these upgrades before you install solar to maximize your return on investment.
Finally, some homeowners skip the permitting and interconnection process, assuming they can plug in their system without utility approval. This is illegal in most areas and can result in fines, forced removal, or safety hazards. Always obtain the required permits and sign an interconnection agreement with your utility before activating your system.
Real-World Example: A Home That Achieved Energy Independence
Consider the case of a family in Austin, Texas, who wanted to eliminate their electric bills and stay powered during summer blackouts. They started with an energy audit that revealed 14,000 kWh of annual usage. After upgrading to LED lighting, a heat pump water heater, and a smart thermostat, they reduced consumption to 10,500 kWh per year. They installed a 9 kW solar array with 13.5 kWh of lithium battery storage. The system cost $28,000 after the federal tax credit. Their utility offers one-to-one net metering, so they export excess summer power and import it in winter. During an extended grid outage the following year, their system kept lights, refrigeration, internet, and a window AC unit running for three days without issue. They achieved energy independence while staying connected to the grid for backup.
Integrating Solar with Other Independence Strategies
Solar power does not have to work alone. Combining solar with other strategies creates a more resilient home. For example, a solar water heater can reduce your electric water heating load, freeing up battery capacity for other uses. A backup generator, fueled by propane or natural gas, can recharge your batteries during extended cloudy periods. Some homeowners add a small wind turbine to complement solar in windy climates. While wind is less predictable than solar, it can produce power at night and during storms when solar output is low.
Energy independence also involves behavioral changes. Shifting heavy loads like laundry and dishwashing to sunny hours reduces battery drain. Installing smart plugs and timers can automate this shift. The more you align your energy use with solar production, the less storage you need. This principle, called load shifting, is a cornerstone of effective solar for energy independence planning.
As you move forward with your own plan, remember that energy independence is a journey, not a single purchase. Start with a clear understanding of your goals, audit your consumption, assess your site, and design a system that balances production with storage. Take advantage of financial incentives, choose quality components, and work with experienced professionals when needed. For more inspiration on how solar technology is evolving, read our article on Elon Musk and Solar Energy: A Sustainable Revolution, which explores innovations that are making independence more attainable than ever. With careful planning, your home can join the growing number of properties that generate, store, and control their own energy.